How to Configure Azure OpenAI Models in Mendix
Recently I spent some time working with the Gen AI for Mendix module. I noticed it also supports AI models other than OpenAI, in fact it can support Azure, Amazon Bedrock, and with a little ingenuity – adapted to fit any large language model. I was impressed with the module and how easy it was to use. I decided to experiment and find out how different the process might be when I swap out the LLM for another – in this case I opted to use Azure.
Before we start
Prerequisites:
If you aren’t familiar with the Gen AI for Mendix module, have a look at my previous article about what it is and how to use it:
I’ll be skipping the basic setup of the Marketplace module this time around, as I already covered that. I’d rather focus on the differences, starting with adding an Azure connection and setting up a deployed model.
Setting up an Azure account
Setting up your Azure account is easy and quick; you can choose between a free account or pay as you go. The free account starts with $200 credit for you to use when you create your account. You can read more about Azure’s pricing guide for Open AI services here.
Create and deploy an Azure Open AI resource
To setup an Azure OpenAI resource, follow this guide from Azure‘s documentation.
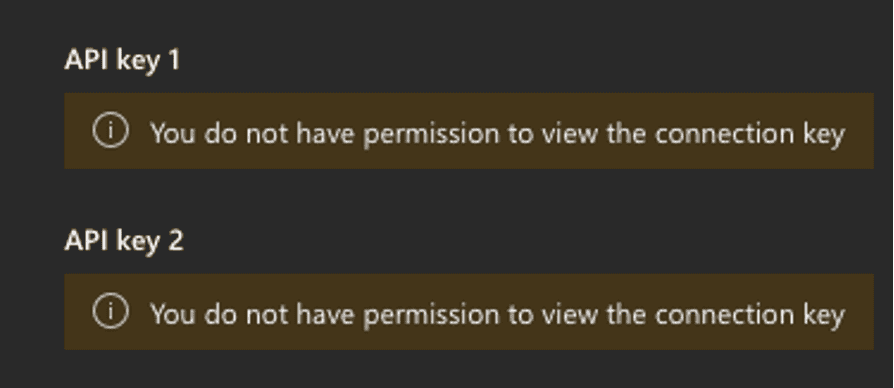
If you did not create your resource, you will need to request access from the owner to view and access certain details (such as the API key) otherwise you may not be able to view it by default.
Configuring a deployed model
After you have deployed your resource on the Azure portal, it‘s a simple matter of adding and configuring the deployed model in Mendix. Run your app and navigate to the admin page “Configuration_Overview” or to a page which includes the snippet “Snippet_Configurations” to configure the deployed models.
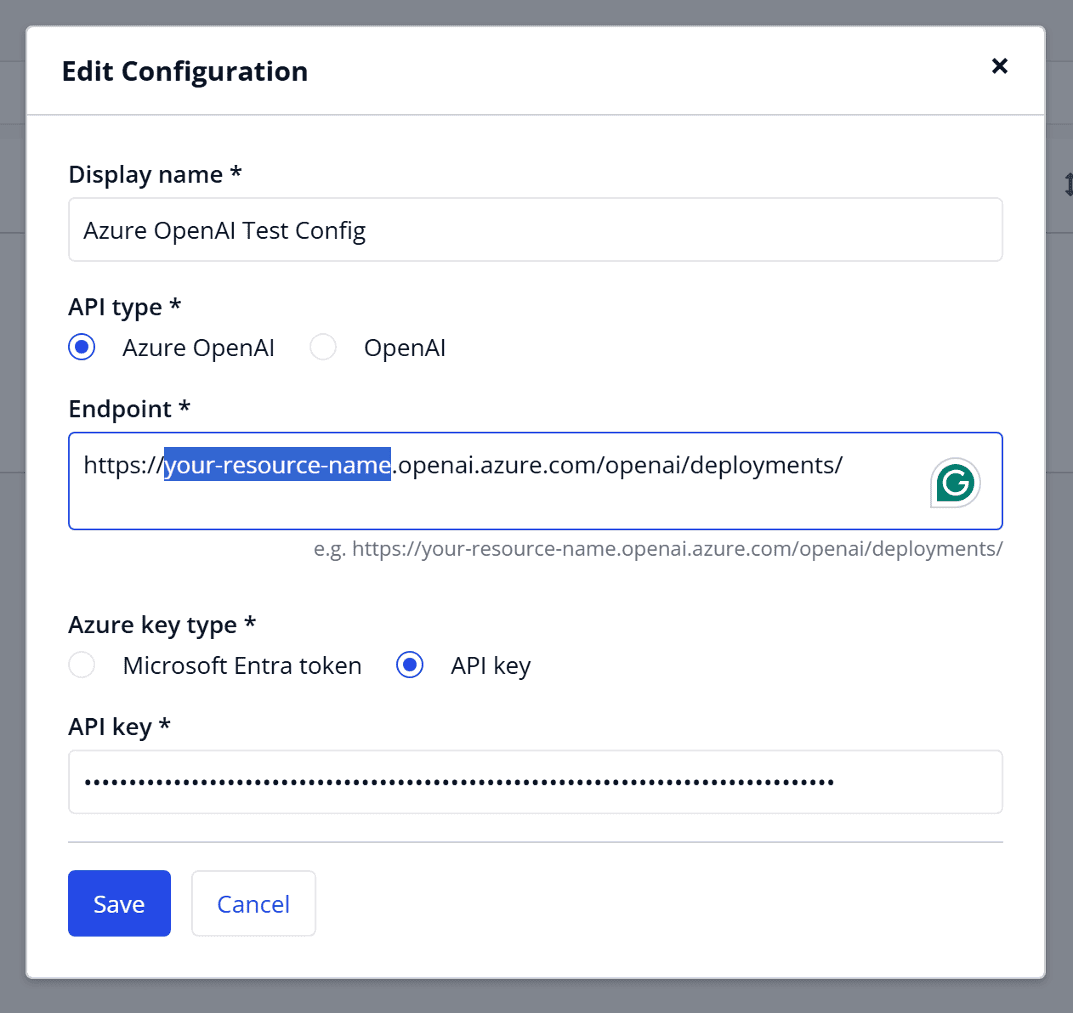
Choose to add a new configuration. In the pop-up window which appears, enter a “Display name” (can be any string/only for display), set your “API type” to “Azure OpenAI”, and under “Endpoint” enter the URL to your resource on Azure. Finally, you can enter your API Key which can be found on the dashboard for your resource on Azure (if you did not set up the resource, you may need to request access to view this from whoever did).
After clicking save, the window will close and be replaced with a new one to “Manage Deployed Models” for the configuration. Unlike the OpenAI config, the deployed models aren’t automatically generated – and we must add one manually.
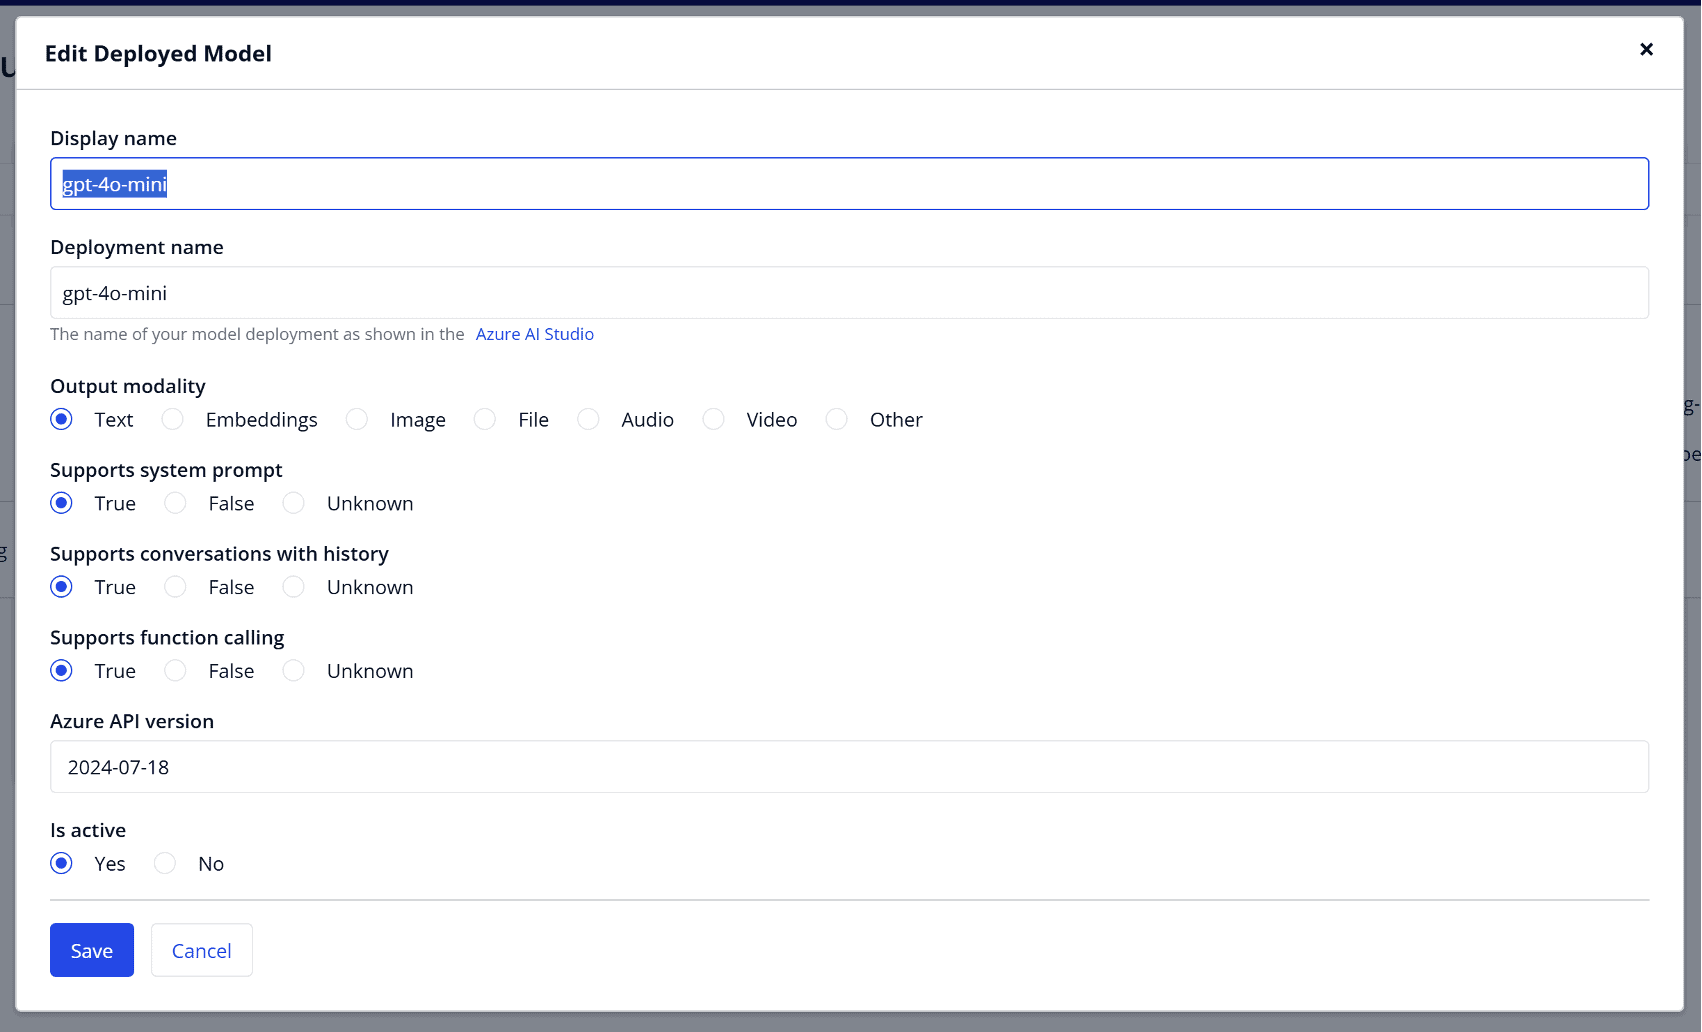
To do this, simply click “Add deployed model”, and enter the details requested on the form. Once again, “Display name” is for display only and can be anything you want. More importantly, “Deployment name” needs to match exactly what is shown in Azure’s AI Studio, this can be found under “deployments” in the left-hand side panel, and it is the value in the first column of the table. You need to also set your “Output modality”, which will depend on the expected output. Different models support different output modalities, and you need to check which your model supports (Text, Embeddings, Image, File, Audio, Video, and Other). If you select text as the output, you will also need to set values for “Supports system prompt”, “Supports conversations with history”, and “Supports function calling”.
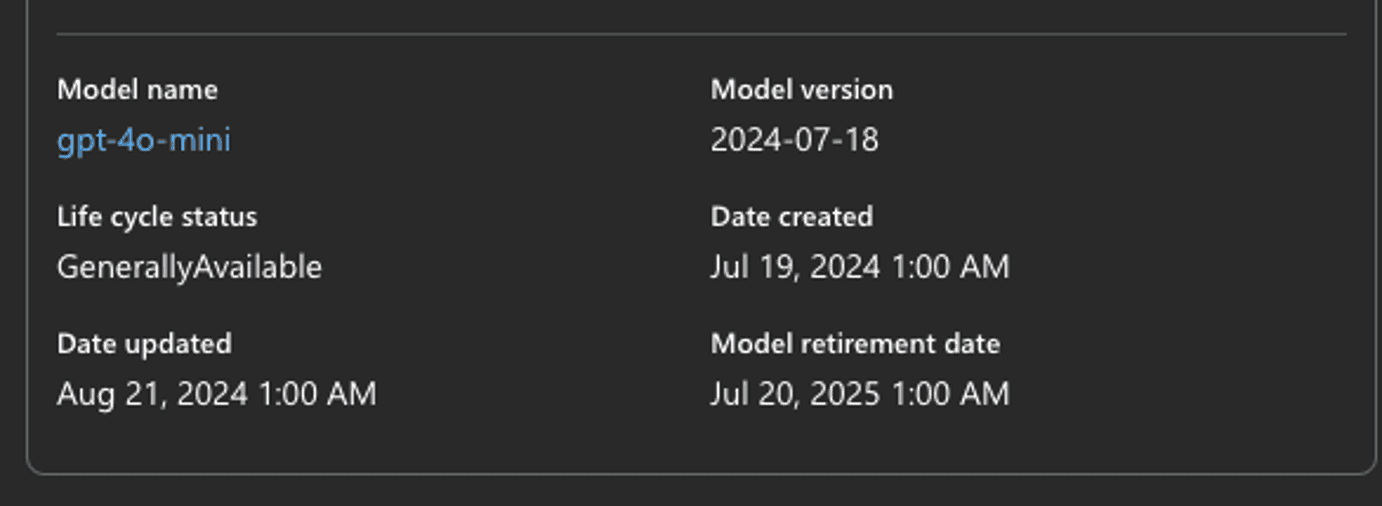
Finally, you need to add a value for the “Azure API Version” and this also needs to match what is configured in Azure’s Studio. Azure’s versions are based on dates in the “YYYY-MM-DD” format. You can find this in the third column on the Model Deployments page, and it’s also on the page when you open a model’s details, near the bottom.
Next up, click save and close the deployed model’s page.
Testing the new model
Just as before, we can test the configuration. Mouse over on the three-dot menu to bring up the options for the configuration.

Choose your deployed model from the drop–down menu and click on the “Test” button. If anything is wrong, you will see a red message and you should check your application logs for more troubleshooting information. You will find the error in the “Open AI Connector” log node in Studio Pro’s console.

Key differences
The biggest difference between Azure’s OpenAI service and simply using Open AI directly is that Azure allows enhanced control, at the cost of some additional configuration. While I wouldn’t recommend this for someone doing this for the first time, I believe that it’s the better option for enterprise grade applications. Azure’s pricing can also work out cheaper in the long run, while also having the added benefits of enhanced security and compliance options.
