

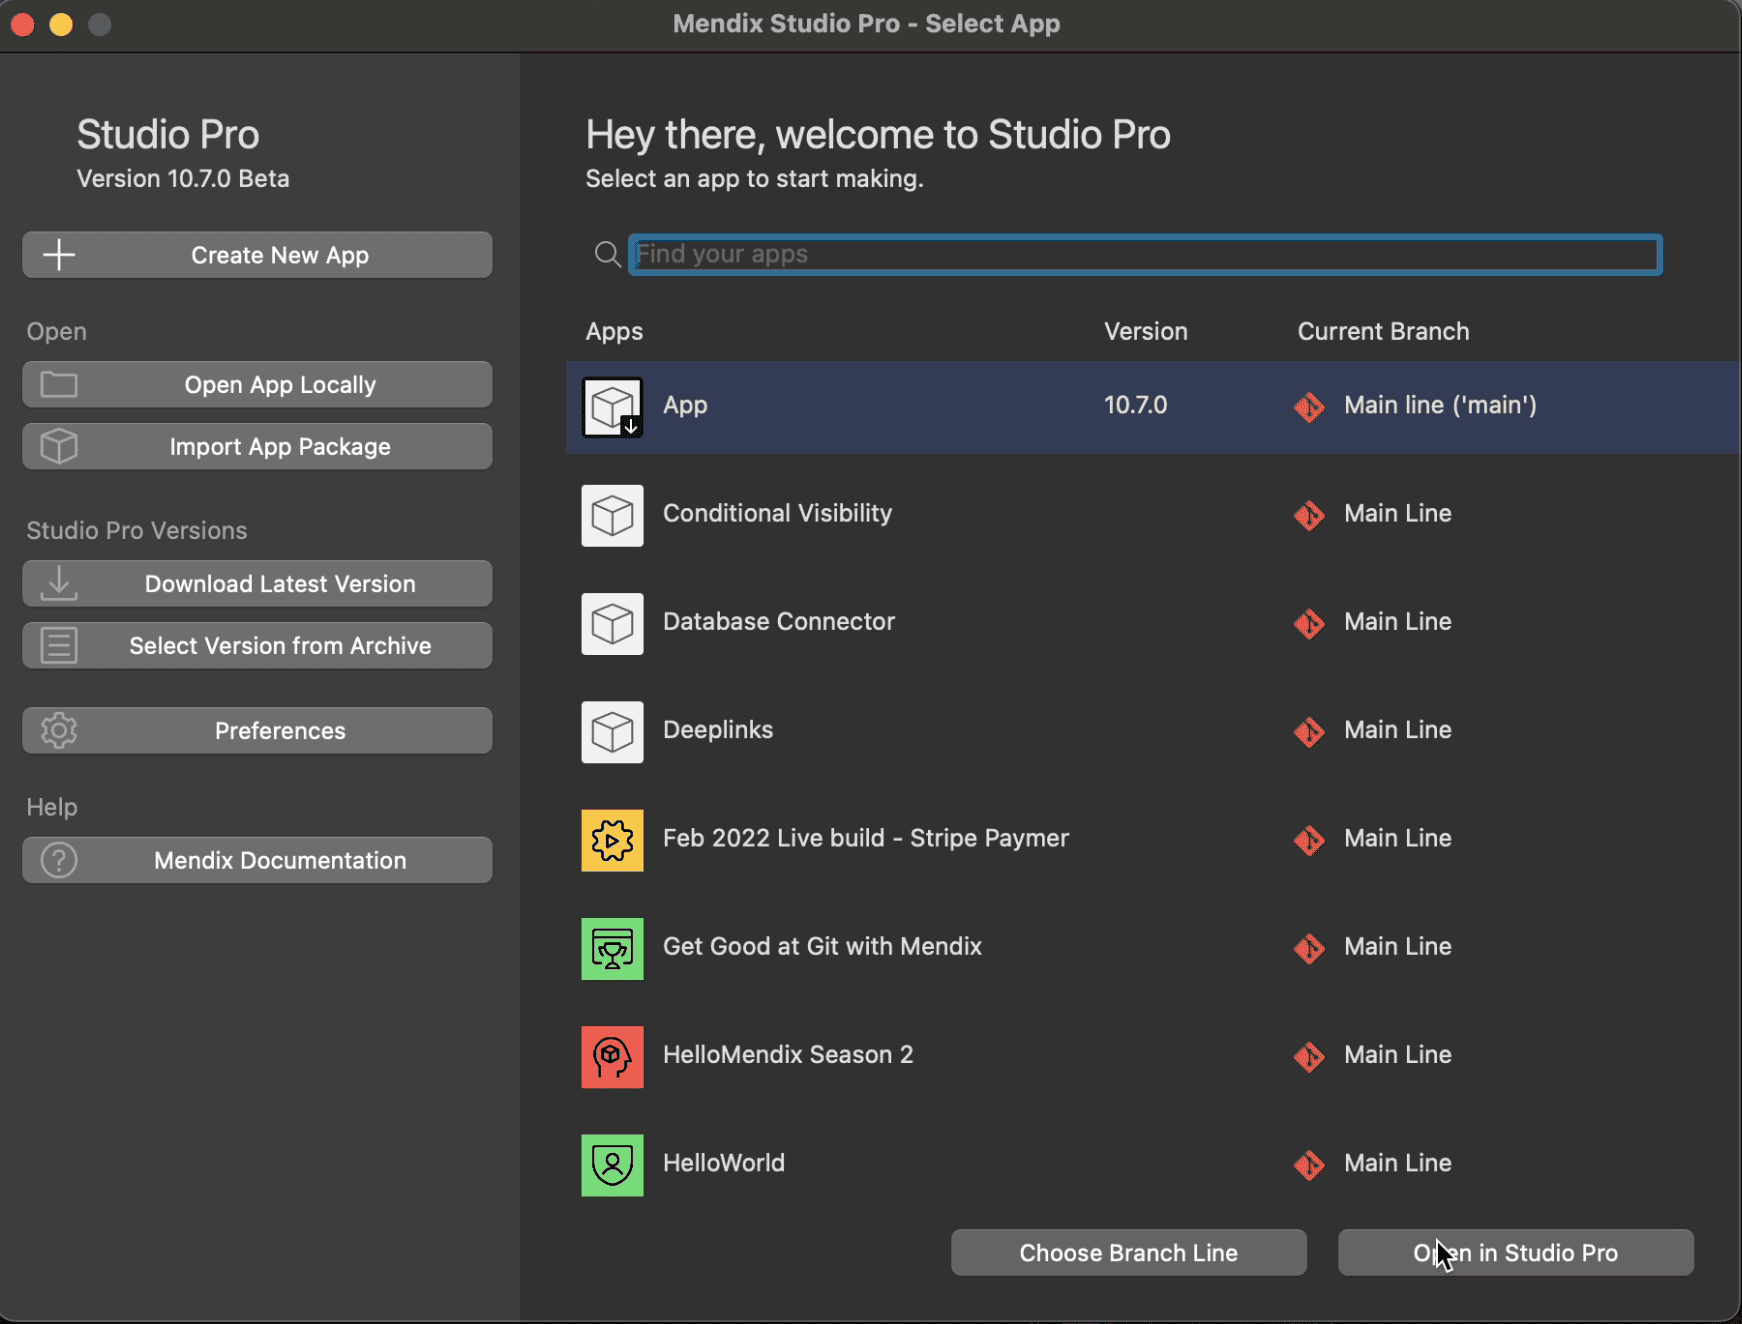
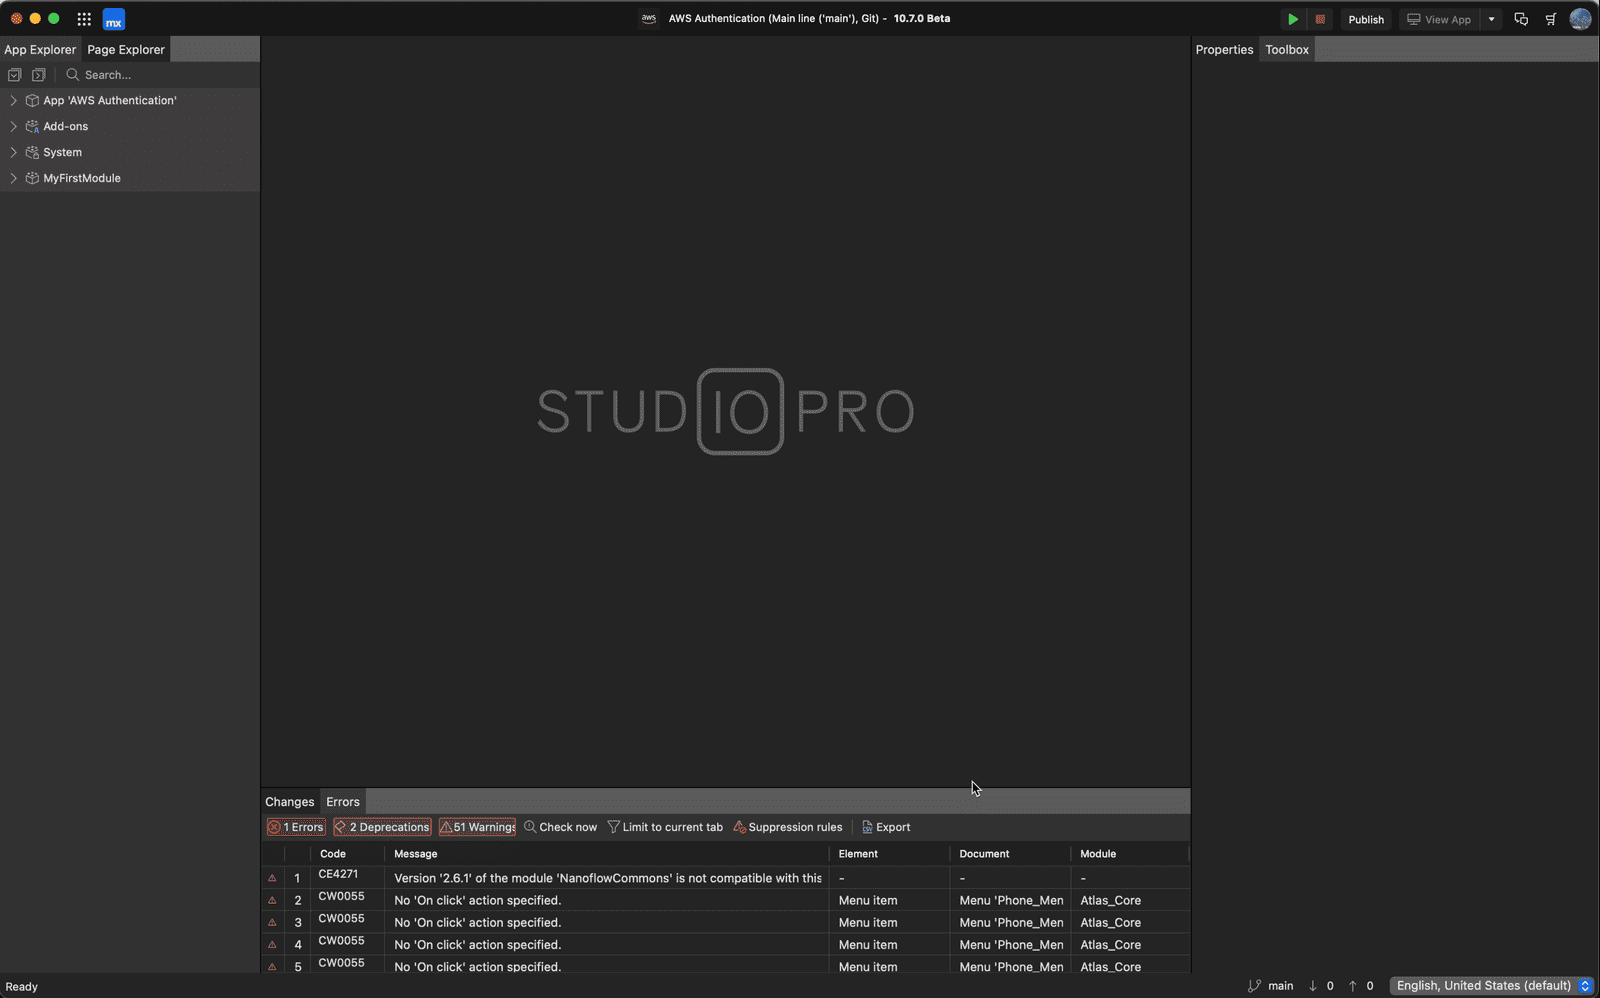
How to set up Mendix Studio Pro on Mac using Parallels virtual machine
We recommend using the latest version of Parallels for this. It’s a reliable and relatively simple program to set up. You can find it on their website (linked above), or you can download it from Apple’s App Store. Once you’ve downloaded Parallels, go ahead follow the prompts to complete installation and set up. If you run into any issues during this process, you can always refer to this installation guide written by Parallels.
It’s Important to note that in order for this to work correctly, you will need to pay for the Pro version of Parallels, and once Windows is installed on the virtual machine, you will have to activate the copy of Windows 10 with a license. You can read more about that here: Activating a Windows 10 license
Configuring port forwarding in Parallels for Mendix
Once everything is set up, there are just a few more steps before you can install and run Studio Pro, starting with port forwarding. (You can always read more about this from the Mendix documentation)
1. To get port forwarding set up, open the Parallels Control Center:

2. Click the gear icon to open the Configuration Panel, and navigate to the Hardware tab where you will select Network from the left panel:
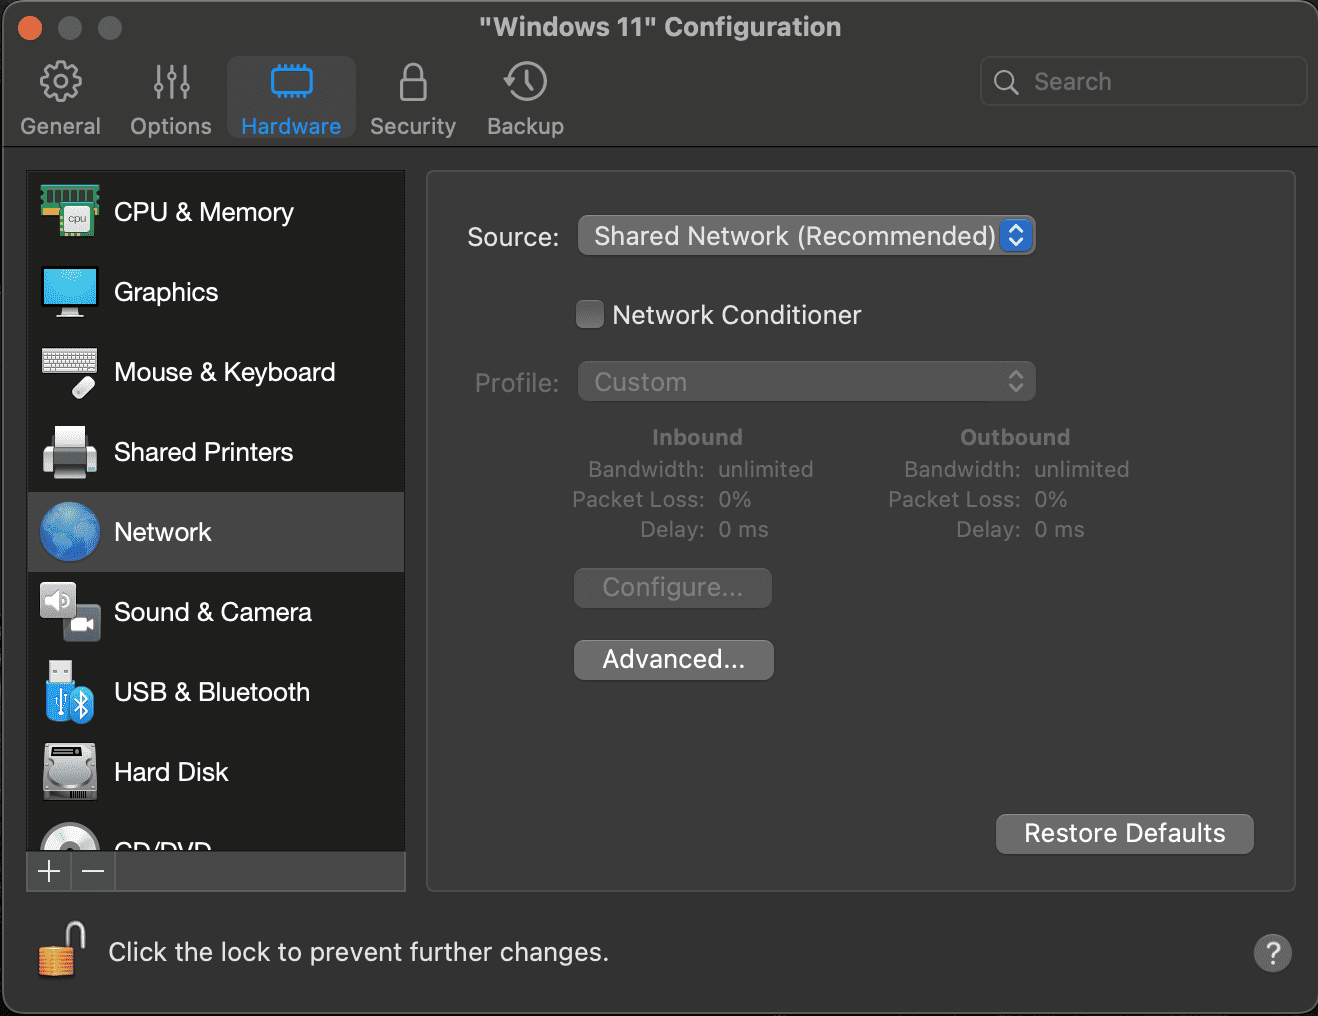
3. Make sure Source is set to Shared Network.
4. Check to ensure that both the Inbound Bandwidth and Outbound Bandwidth show Unlimited. If this is not the case, either enable Network Conditioner and set it to a profile that does not limit bandwidth, or click the Options tab and then the Optimization pane in order to set the Resource usage to No Limit.
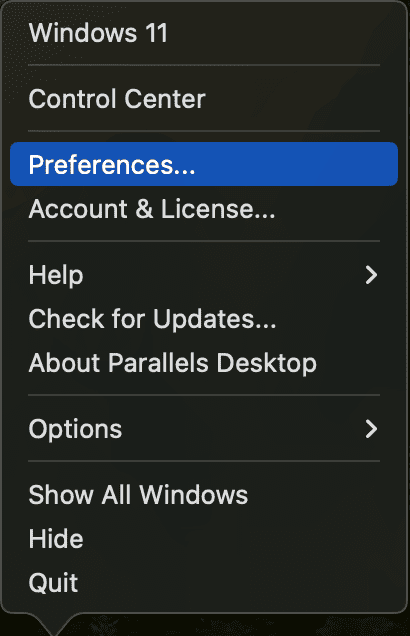
5. In the Parallels drop-down menu, select Preferences:
6. Navigate to the Network tab, and select Shared from the left panel:
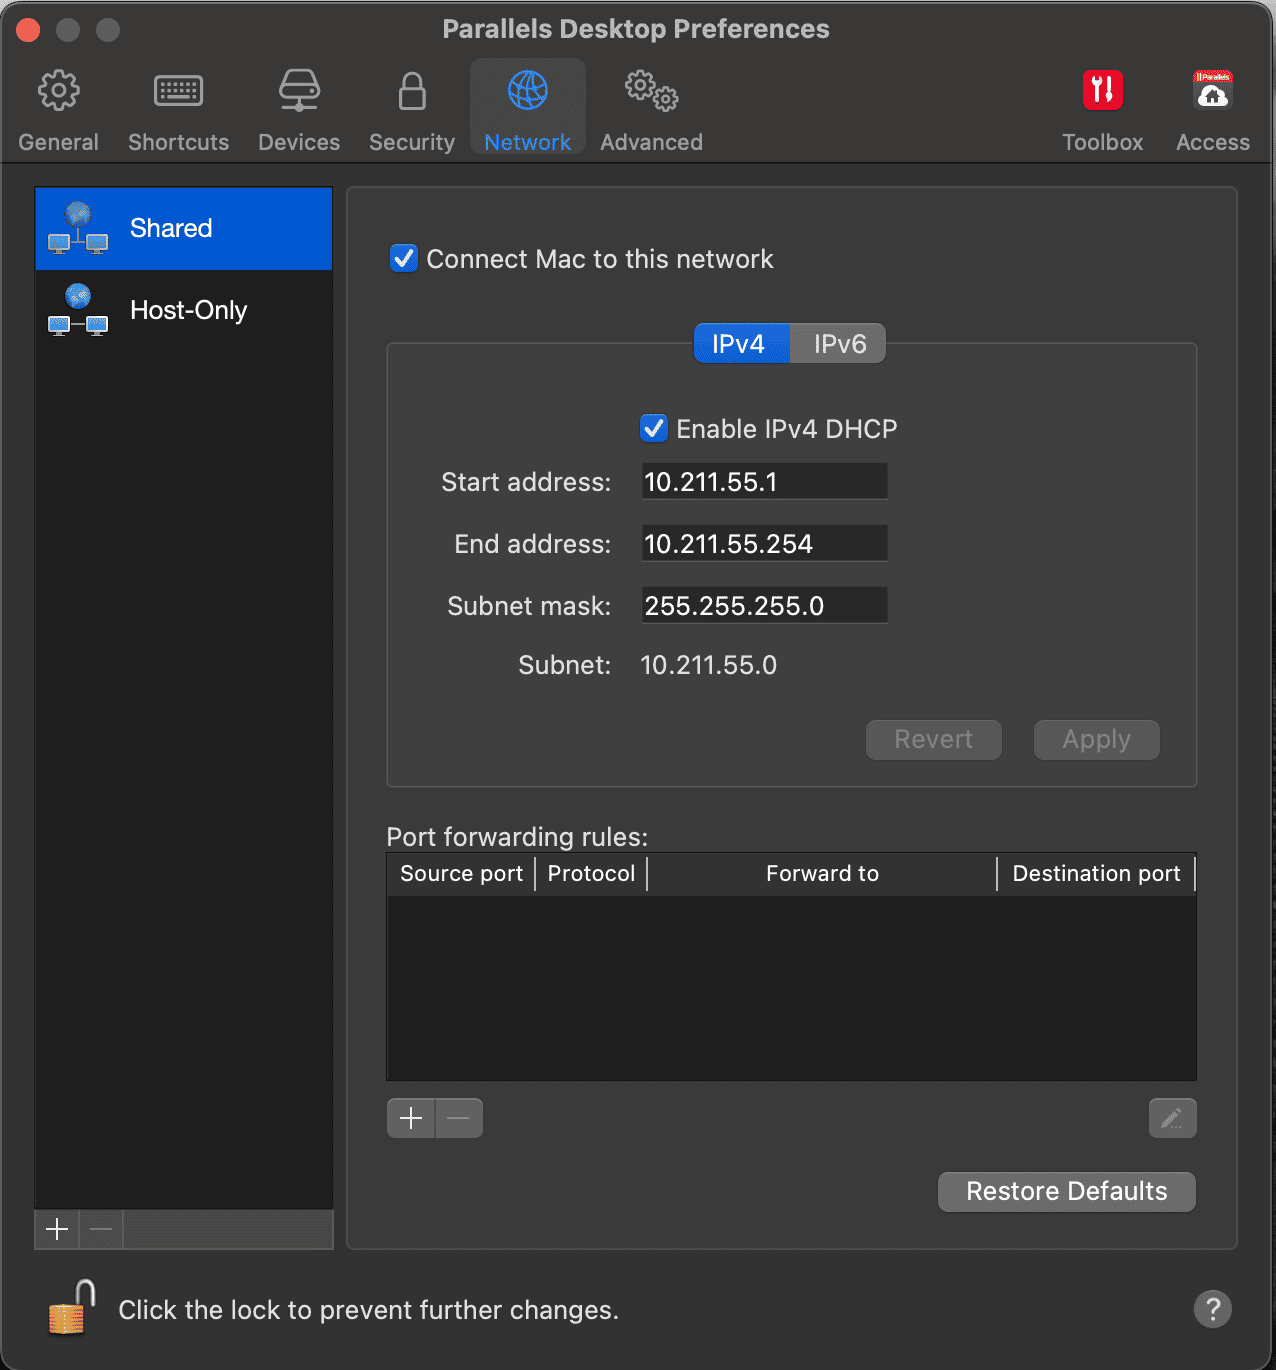
7. Click the + button and add two ports: One for 8080 and one for 8083, both forwarded to your Windows virtual machine (the 8083 port is only necessary for developing native mobile apps):
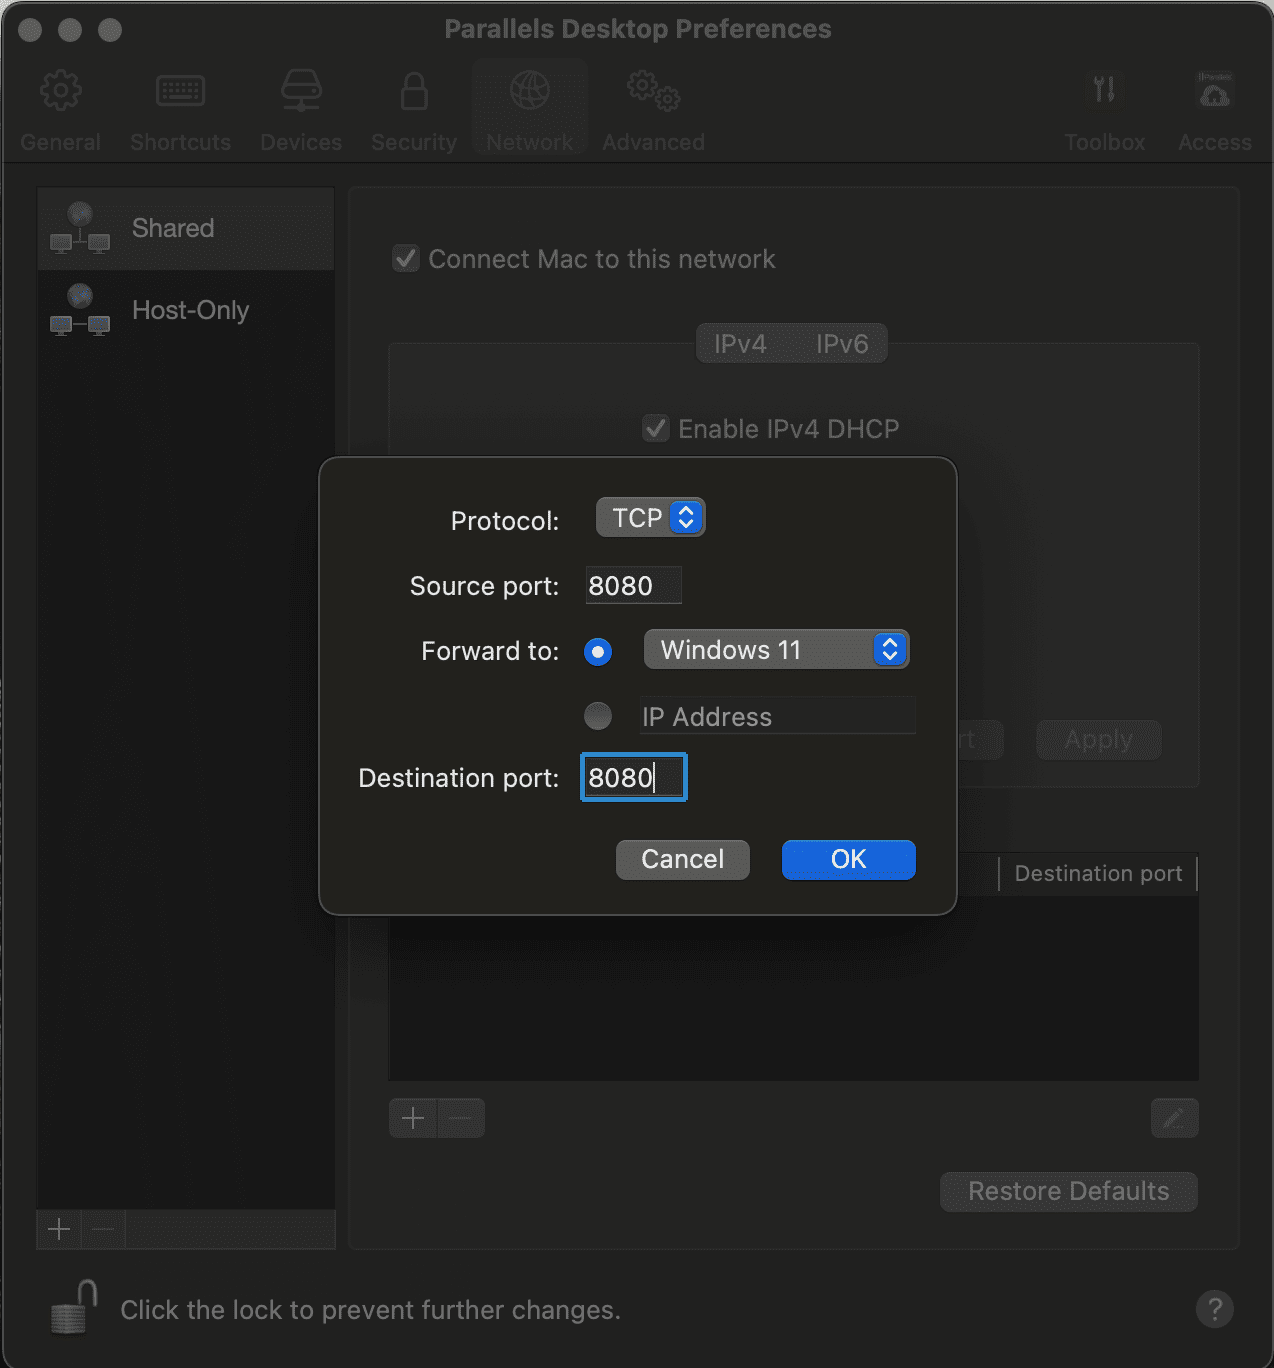
After adding those two ports, your Port Forwarding Rules should look like this:
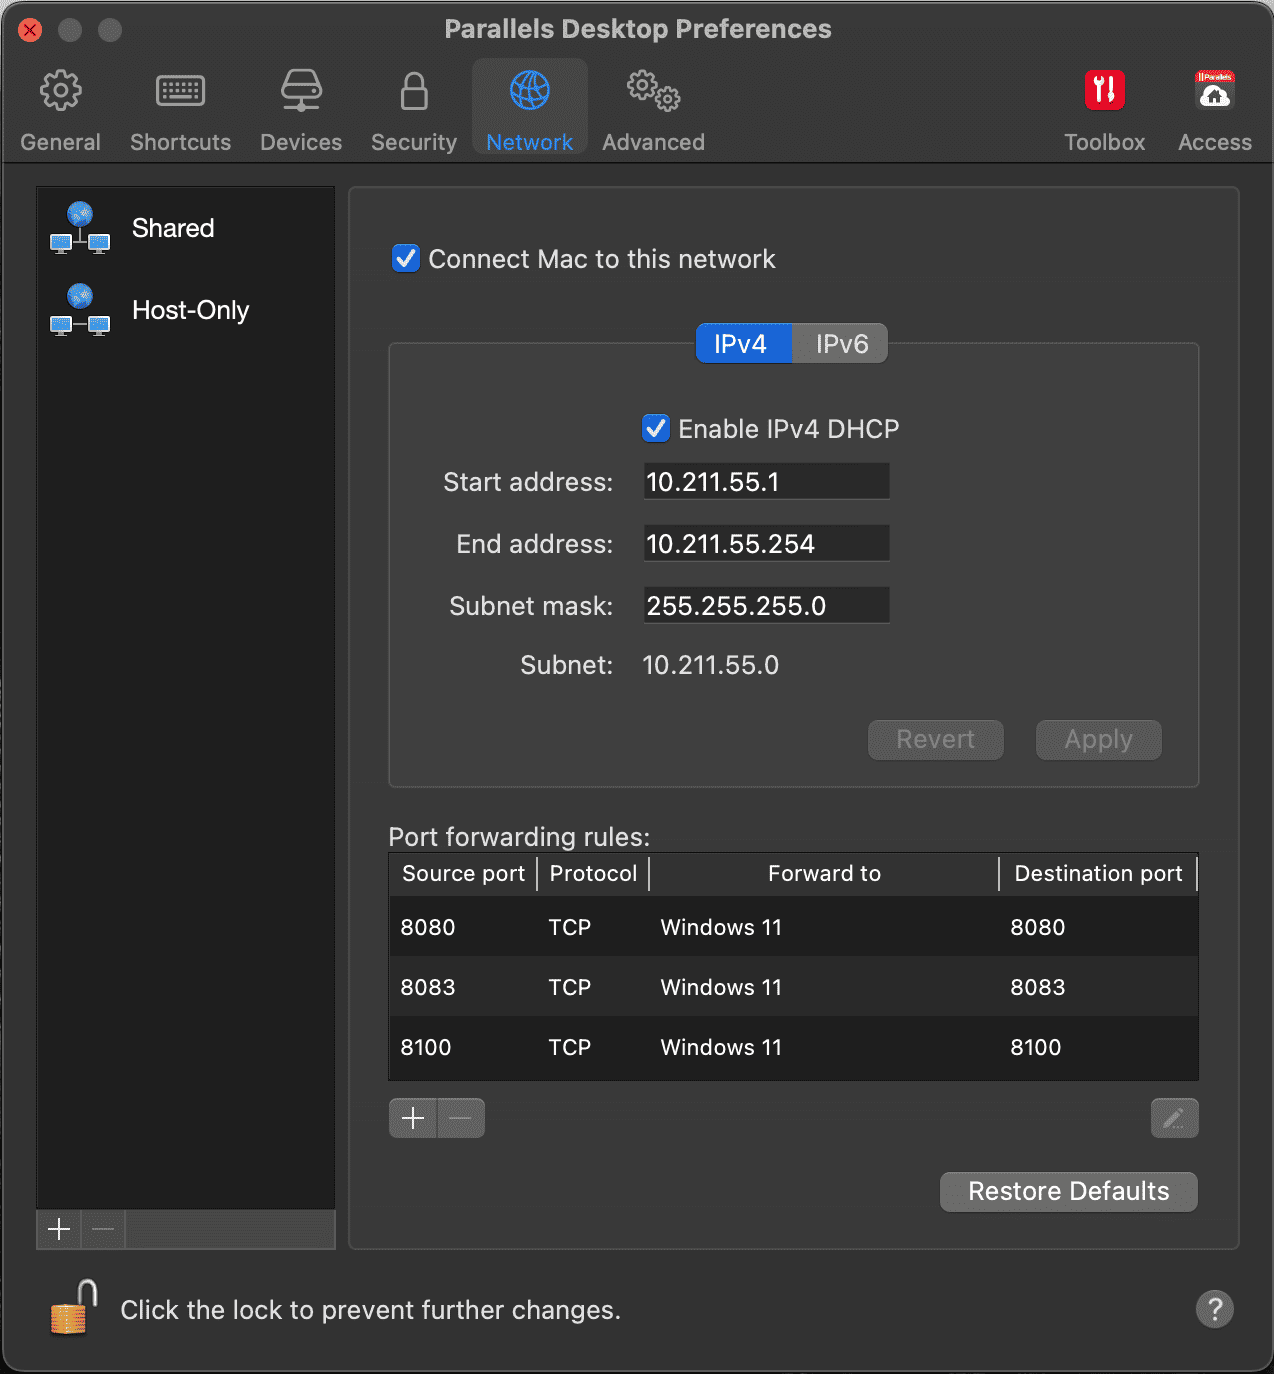
By this point you should have successfully
- Downloaded and set up Parallels
- Activated your Windows license inside of the virtual machine
- Configured port forwarding to enable testing on local environments
A few things to note
If you have downloaded or are using an older version of Parallels like Parallels 15 or earlier – when testing a native mobile app using the Make it Native App, you may have to manually enter your virtual machine’s IP address for the local network instead of scanning the QR code in Studio Pro. With Parallels 16 and newer, this seems to have been resolved.
Secondly, Studio Pro will need access to the following URLs in order to work. If your firewall is currently blocking these, you will need to whitelist them. A simple Google search can help you out with that if you are unfamiliar with how to go about this.
- .mendix.com
- .mendixcloud.com
- .teamserver.sprintr.com
Lastly, if you’re wanting to run Studio Pro on Apple Silicon Macs, such as the M1, you should know that Studio Pro is enabled and tested to run on all Macs using Parallels 17 and Windows 11 for the following versions:
- Mendix 8 LTS: 8.18.14 and higher
- Mendix 9 MTS: 9.6.5 and higher
- Mendix 9.9.1 and higher
Next up: Installing Studio Pro on your Mac
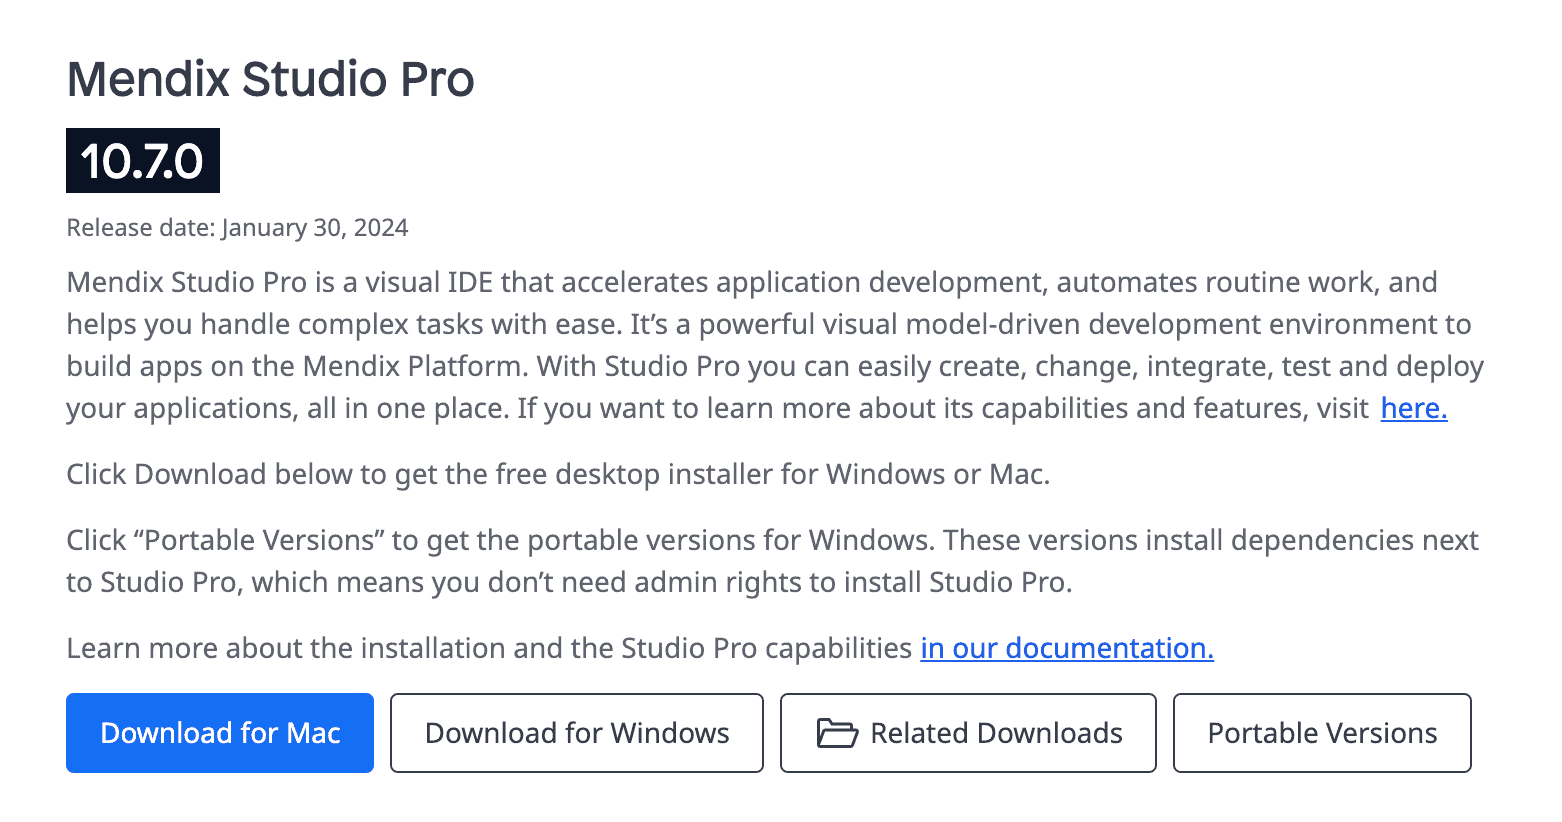
Now that we’ve got your virtual machine installed, it’s time to go ahead and download Studio Pro. Once the install files are ready, go ahead and open them up. The Mendix install wizard should appear. Click Next or press enter on the keyboard to continue.
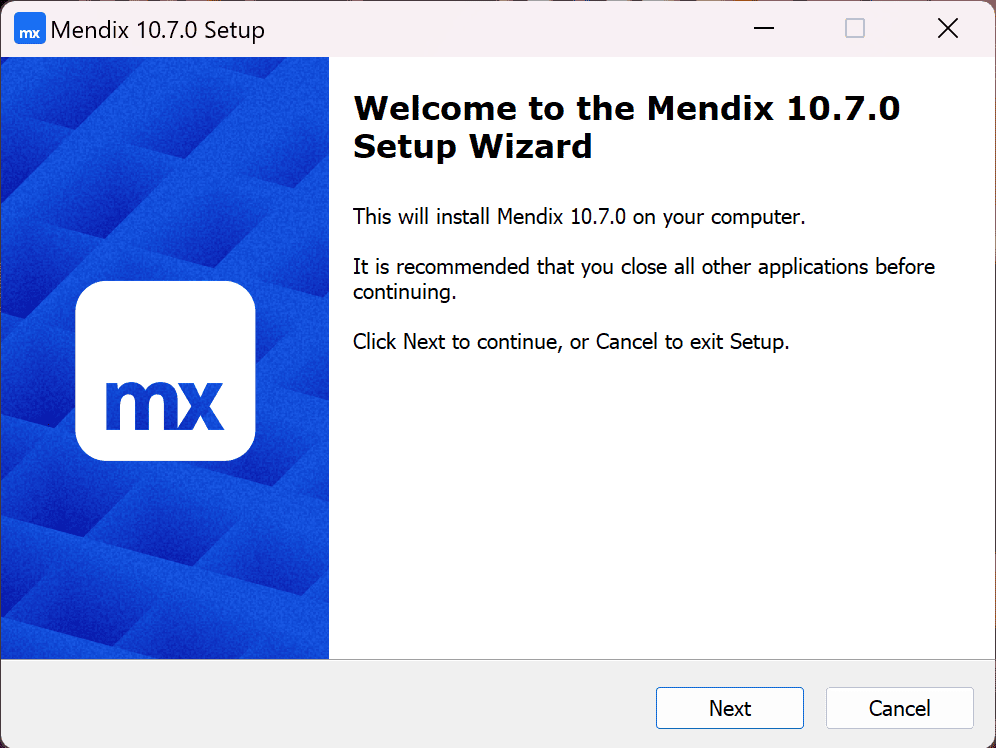
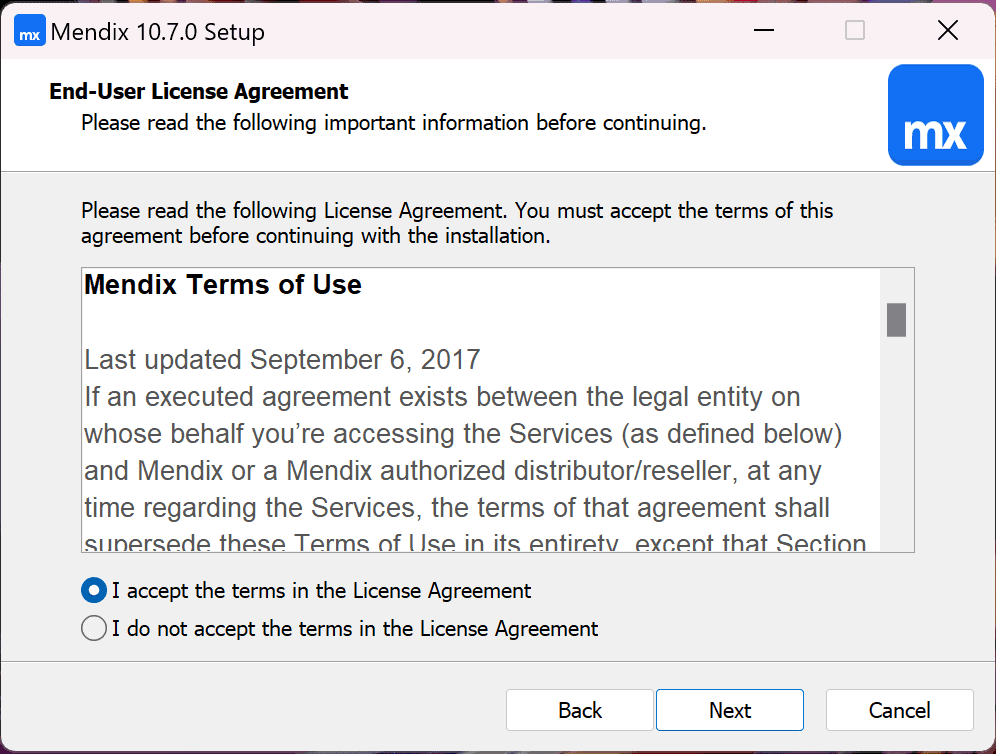
Go ahead and read through the End-User License Agreement carefully before selecting “I accept the terms in the License Agreement” and clicking Next:
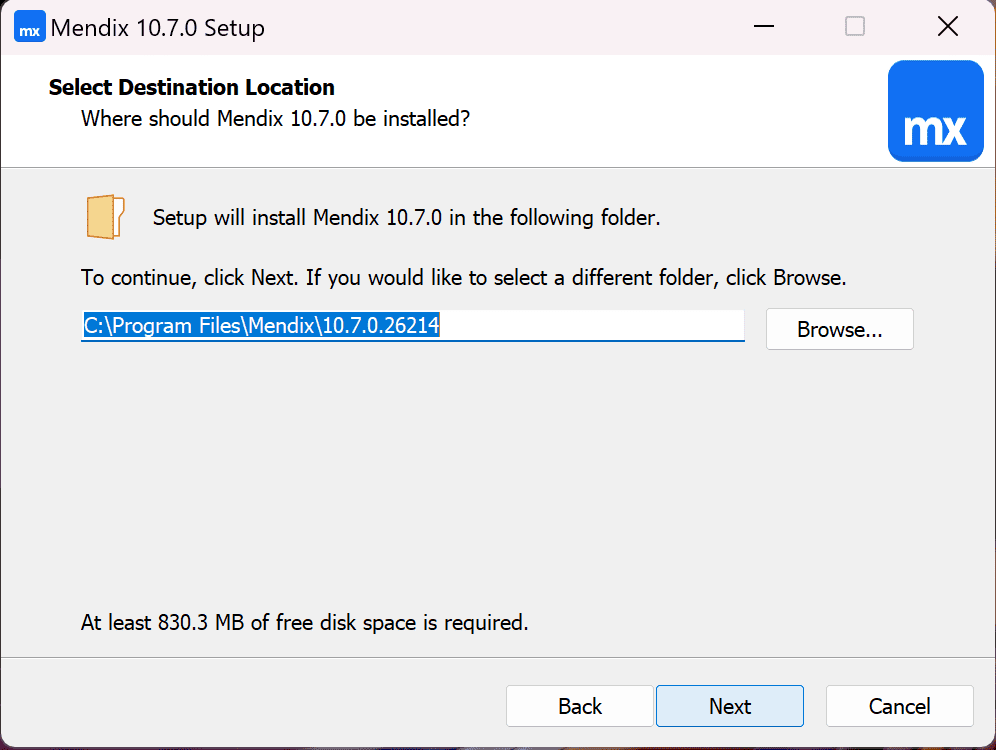
If you know you want to change the install location, click Browse and then select the folder in which you want to install Studio Pro. Otherwise, simply click Next:
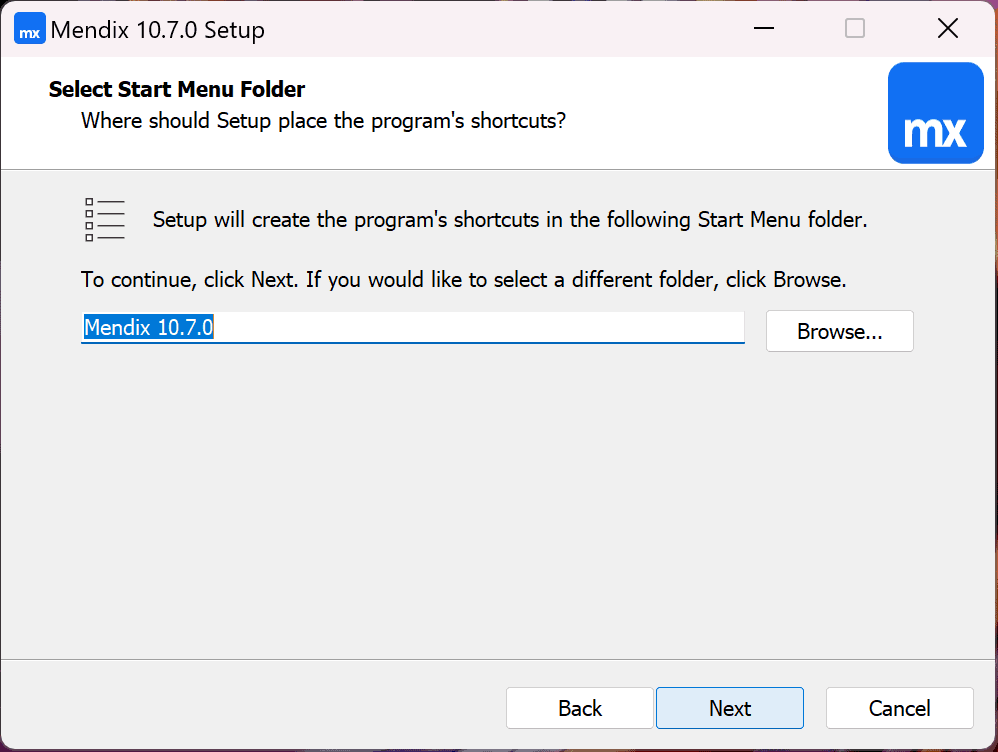
Enter the Start Menu shortcuts folder you want to use and click Next.
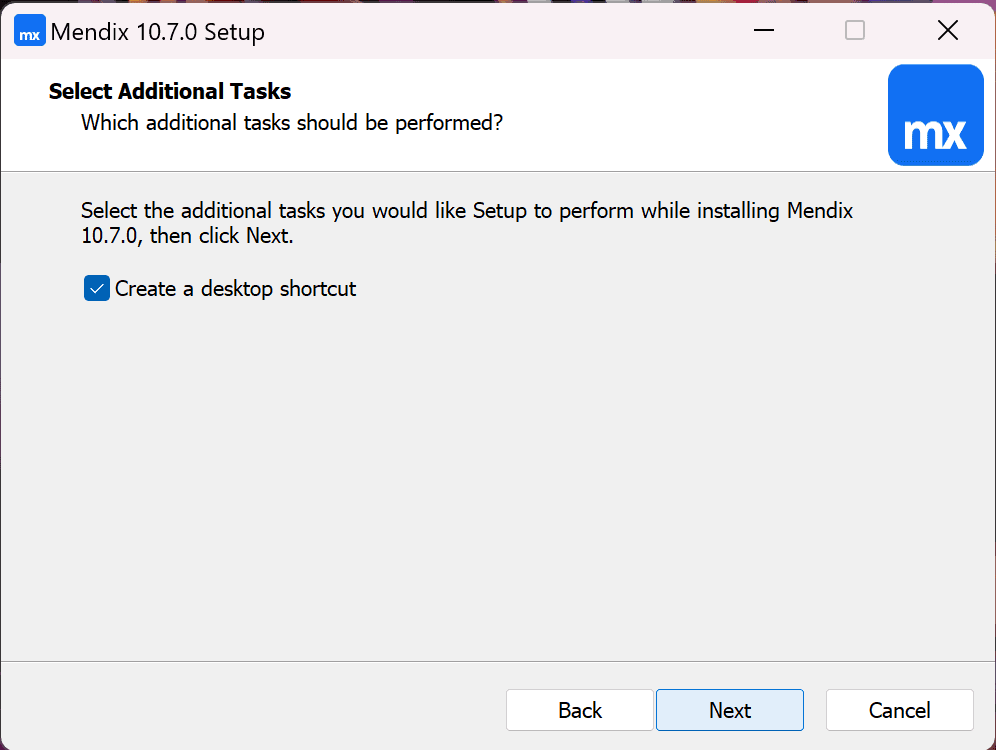
If you don’t want to use a desktop shortcut, you can always access Studio Pro using the Mendix version selector.
Finally, click the Install button to install Studio Pro on your machine.
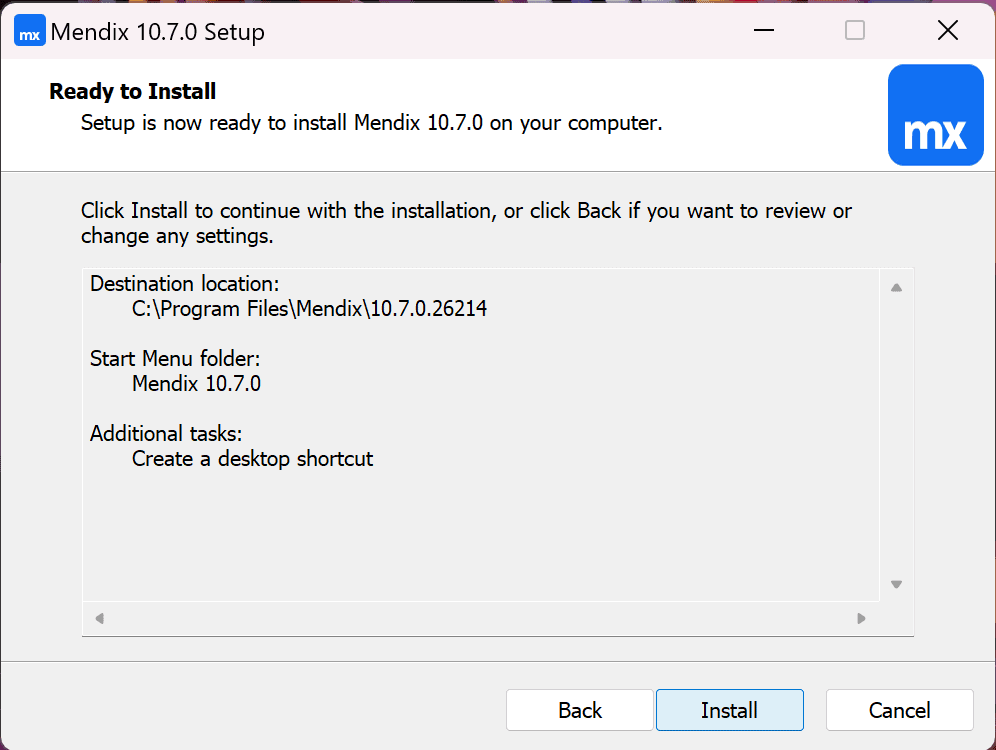
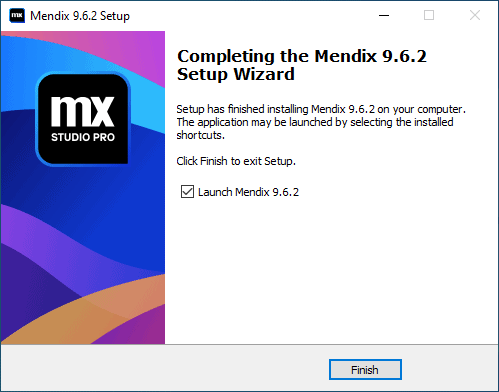
Depending on your machine’s specs the actual install time may vary, but once it’s done, you can check Launch Mendix 9.X.X and click Finish to complete the installation process and launch Studio Pro:
What now?
Go ahead and take a look around, get familiar with the development environment. If you prefer a more structured approach, head over to the Mendix Academy and click “Choose an Online Learning Path” to be guided to the correct Mendix Studio Pro tutorial for your needs.


